How to Create the Best Nail Shape for Your Hands
The shape of your nails can enhance and and totally transform the appearance of your fingers and hands. Whether you want your fingers to appear more elongated or your nail beds to look wider, there are a variety of different nail looks that you can create from almond to stiletto.
OPI’s Digital Content Manager Rebecca Reller shares a guide to creating the best shapes for your nails—all you need is a nail file!
Almond: Best for lengthening and slimming fingers

Slender at the sides and slim at the base, this is an instantly flattering shape.
How to:
File each side of the nail and shape the tip by narrowing the free edge to create a peak.
Oval: Best for wide nail beds and long nails

This runway favorite elongates nails in both width and length. It’s similar to an almond shape but a tad more blunt.
How to:
File each side of the nail and slightly curve your file toward the center of the nail to create an egg-like shape.
Round: Best for short fingers
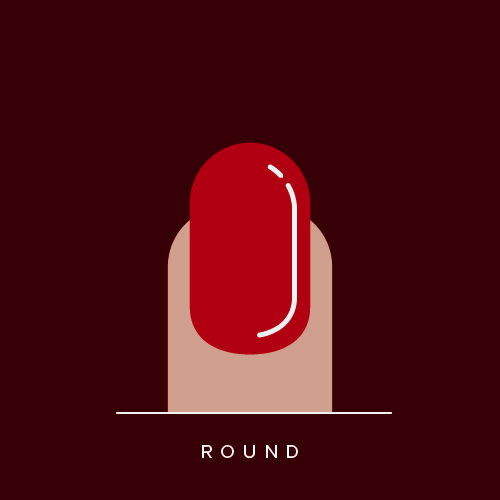
The round shape elongates your fingers, making them look slender and it also makes wide nail beds appear thinner.
How to:
Start by filing and following the natural shape of the fingertip.
Flip your hands and check the symmetry of the curve.
Square: Low maintenance nails

If you have long, narrow beds and like a short length, this is the shape for you.
How to:
File in a straight line across the free edge.
Squoval: Best for everyone

This universally flattering nail shape looks good on short and long fingers. Part-oval and part-square, this is super easy to maintain on short nails.
How to:
Start by filing straight across, then round off the corners in one long stroke, connecting the free edge together.
Flip your hands towards you and adjust as needed.
Stiletto: Short fingers & long nails

This is a shape made for long nails (recommended with acrylics) that ends with a sharp statement point. This is like an almond shape, but more pointed.
How to:
Find the center of the nail tip, then shape both sides by filing into a slight taper towards the nail tip.
Next, begin shaping the tip by narrowing the free edge to create a peak.
For more information and to purchase OPI products, visit opi.com and follow them on Instagram: @opi
[Images courtesy of OPI]

Kamala Kirk is a University of Southern California graduate and has been an editor/writer for more than a decade. She has written for E! Online, Total Beauty, TravelAge West, Malibu Times Magazine, and many more. She resides in Los Angeles and is a proud pug mom. Follow her on Instagram: @kamalakirk